 ScadBox
A guitar pedal enclosure, ready to wire
A sloped pedal enclosure for a pedalboard: three pots, a footswitch and an LED on top, 1/4" jacks on the sides, the 9 V centre-negative DC jack at the back, a screwed base plate with a 4 × AA battery compartment and a snap-shut door, and printed knobs and a footswitch cap. Every hole is sized for real parts, and the artwork prints in a second colour or engraves to paint.
Styles in a click
Changing the artwork, knob style, knob layout and size in the customizer.
Two ways to make it yours
Ask your AI agent, or change it yourself in the editor. Here's what each looks like for this design.
With your AI agent
Design a 3D-printed enclosure for a fuzz pedal: three pots, a 3PDT footswitch, an LED, 1/4" jacks on the sides, a 9 V DC jack at the back, and a battery door for 4 × AA. Retro style, two colours.
Your agent works through ScadBox's tools, for example:
find_objectgets the real sizes: 1/4" panel jacks, the pedal DC jack, 16 mm pots, 3PDT switch, AA cellsget_printer_profilereads your nozzle and fits, for the screw bosses and the snap-shut doorrender · snapshotbuilds it up and looks at it from every sidecheck_design · sweeptries every slider value, so no setting breaks itsupports · orientlays the shell top-face down so nothing needs supportassembly_instructionswrites the PDF with a parts list and every stepexporta 3MF with the artwork as a second filament
Then keep going in plain words:
Make it fit a Hammond 1590B footprint instead.
Swap the waves for a sunburst and use fluted knobs.
In the editor
- Choose a look: artwork, knob style and knob layout are menus
- Size it: width, depth and the front and back heights are sliders; the battery door grows to fit
- Fit your parts: hole sizes for the jacks, pots and footswitch are listed, and anything you should check is under Measure before printing
- Step through the build: the Assembly step slider shows each step in order
- Print in two colours: export a 3MF for an AMS, or pick engraved artwork to paint
Pick a look
Artwork, knobs and layout are menus; size and slope are sliders.
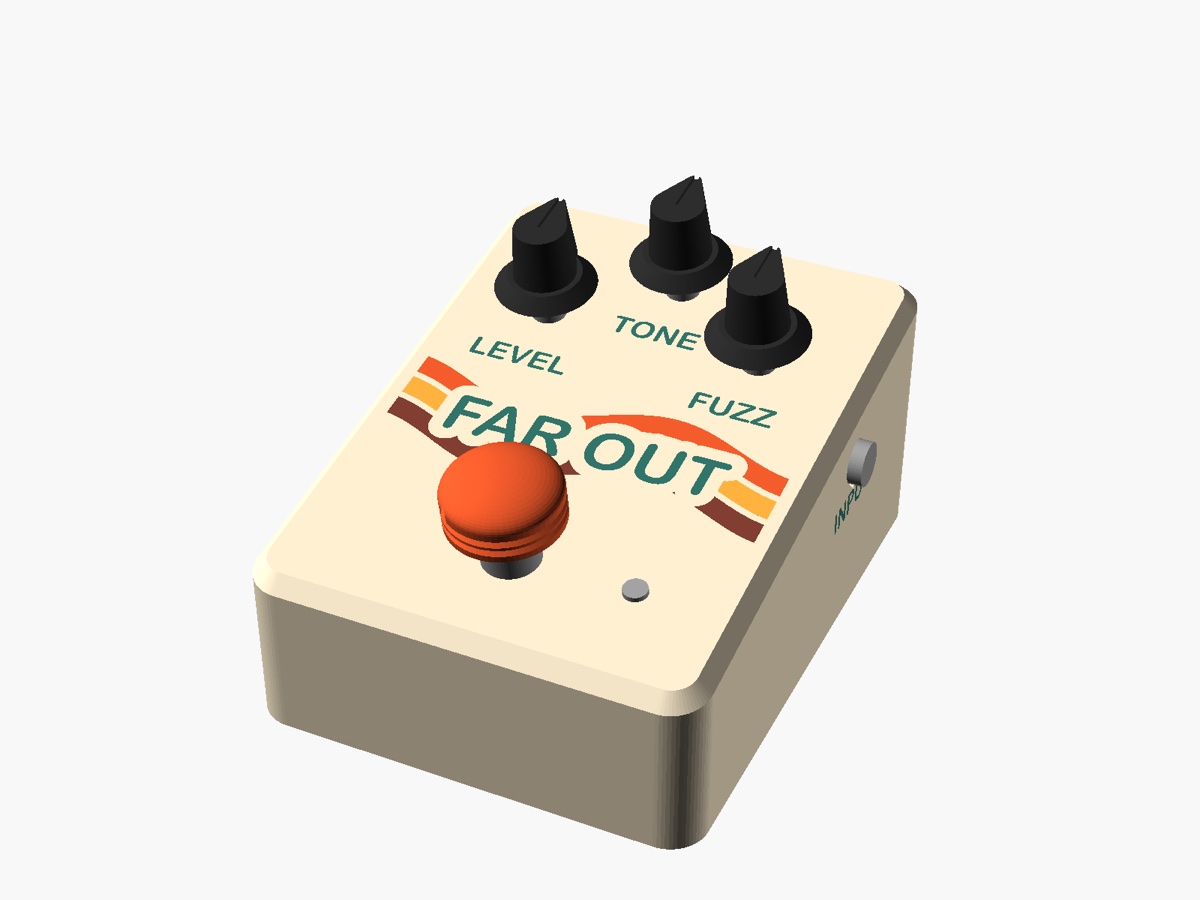
layout = "assembled"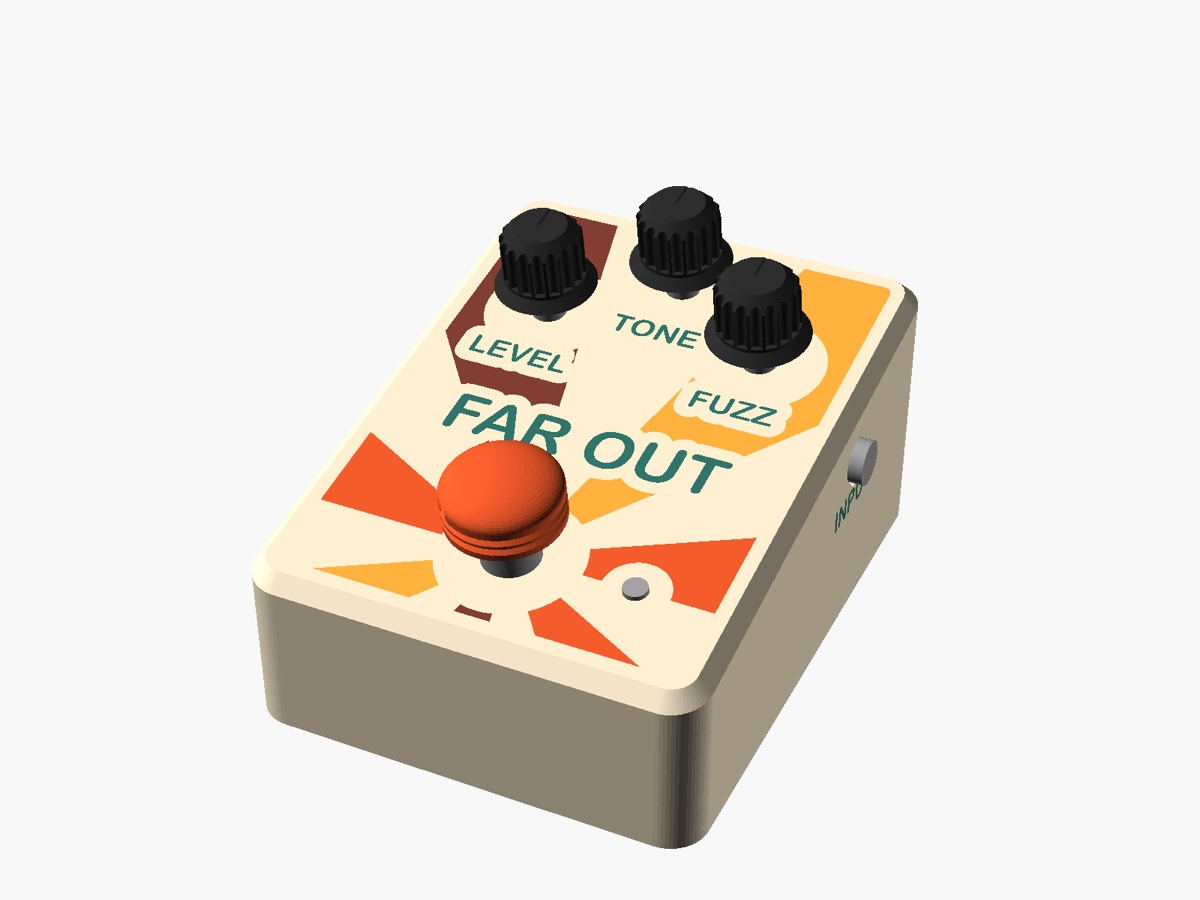
layout = "assembled", deco = "sunburst", knob_style = "fluted"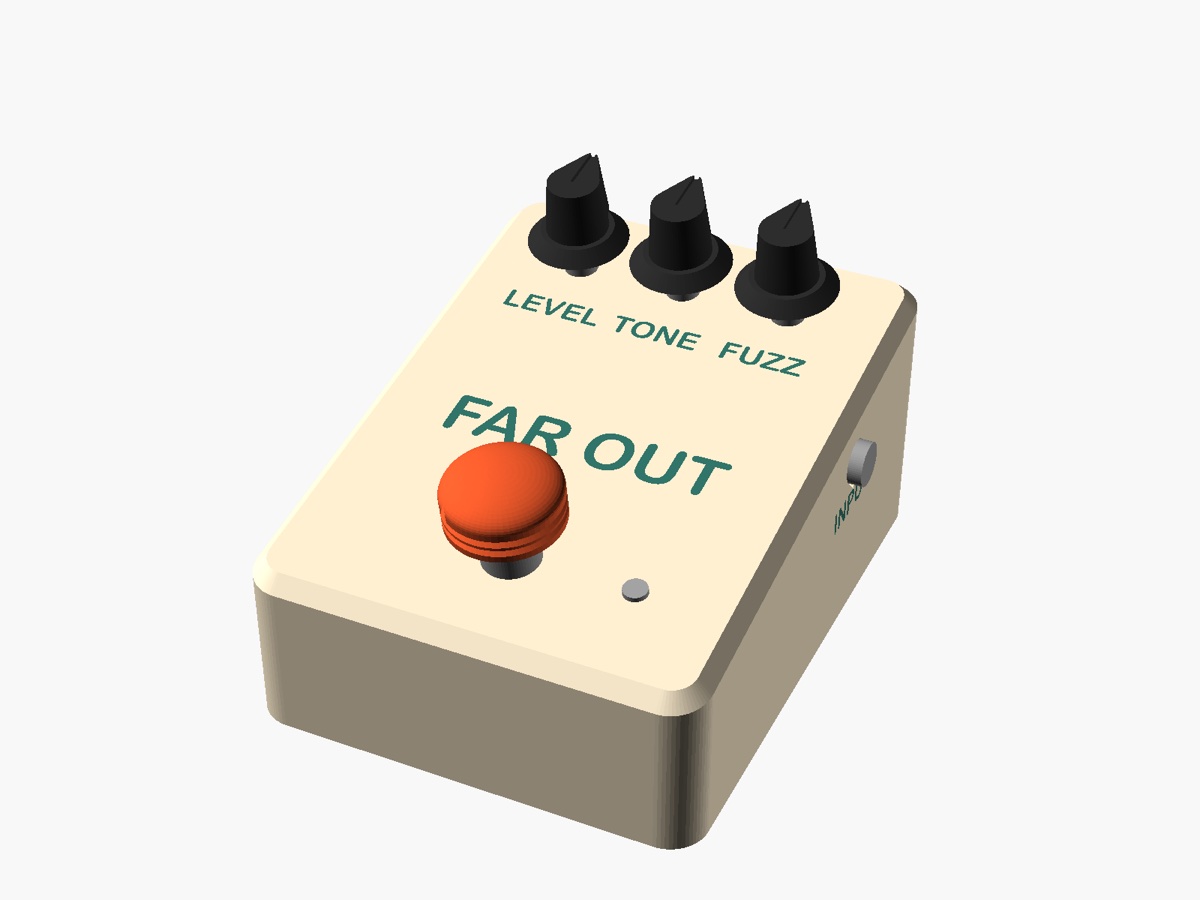
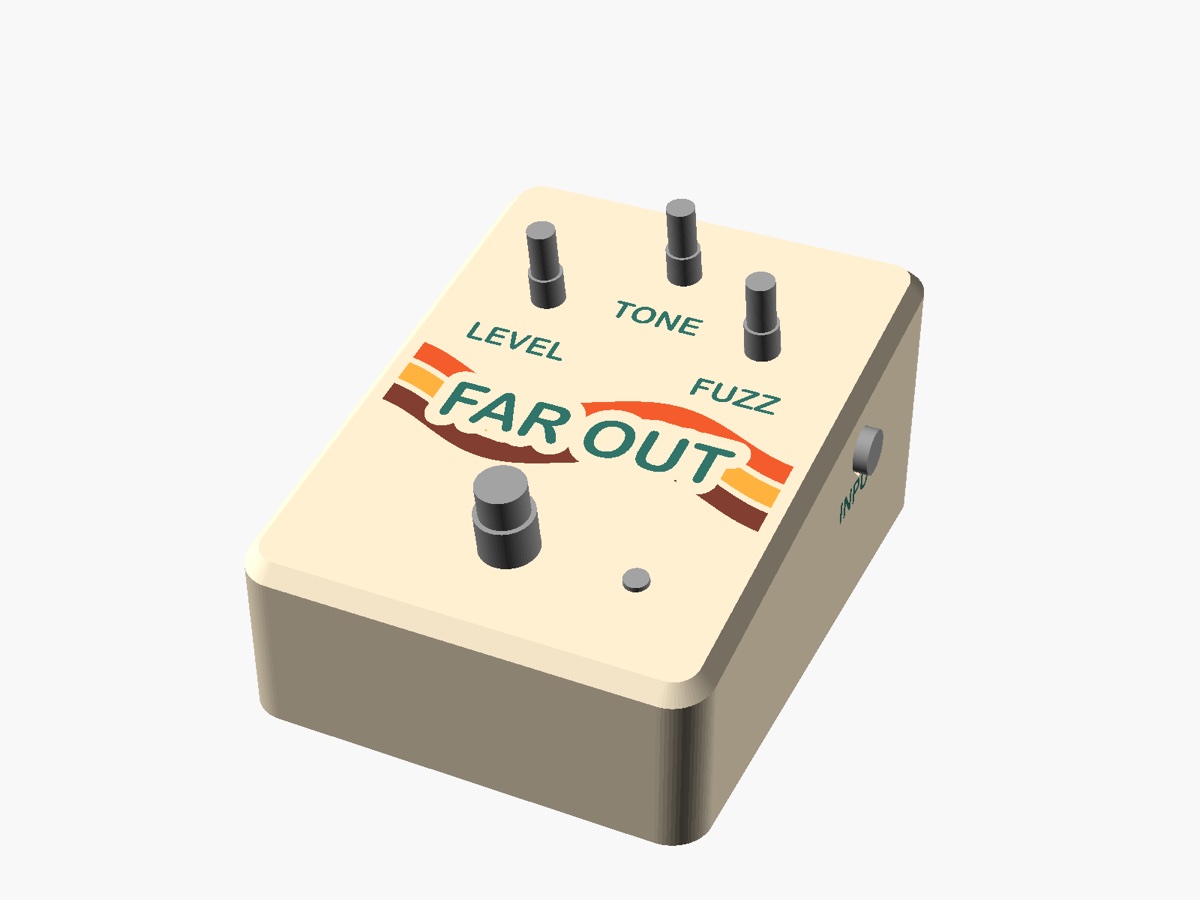
layout = "assembled", deco = "none", pot_layout = "row"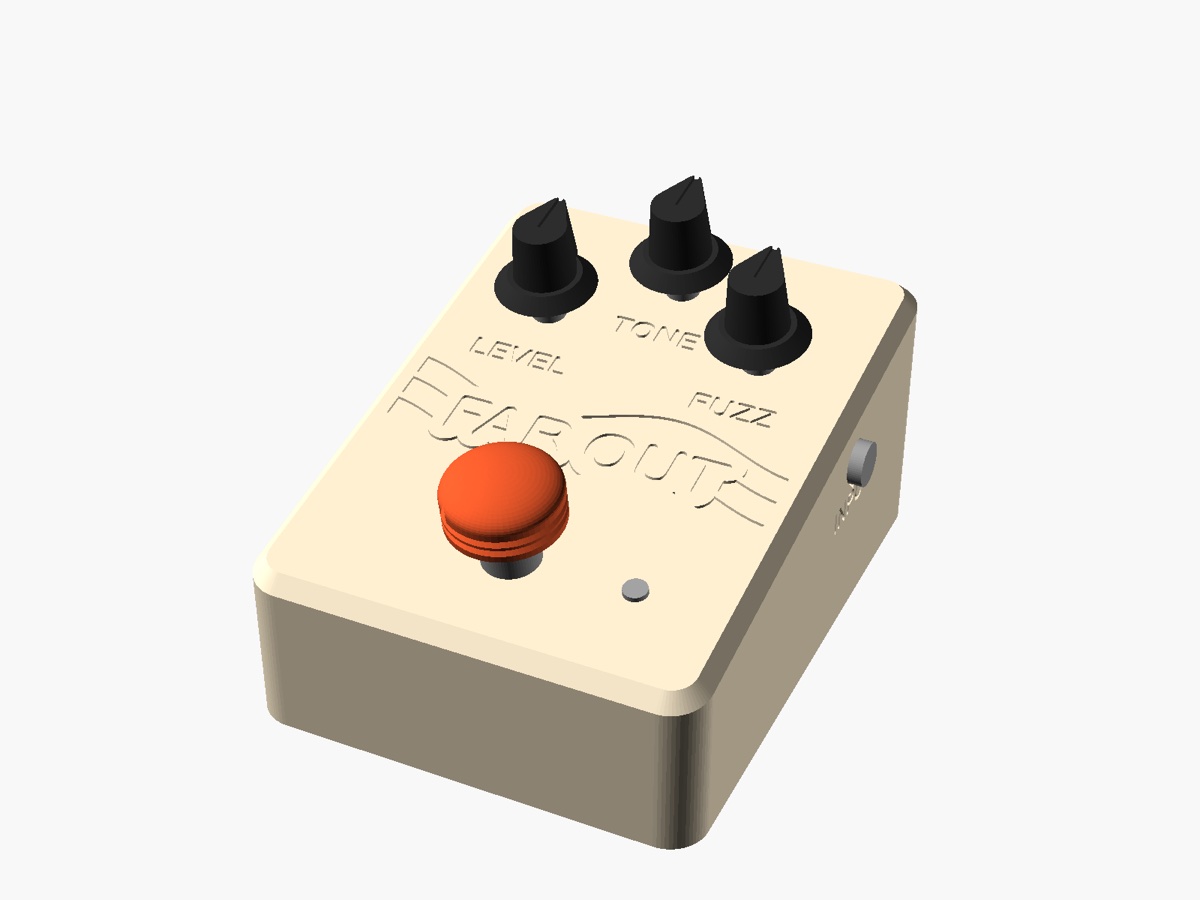
layout = "assembled", deco_mode = "engraved"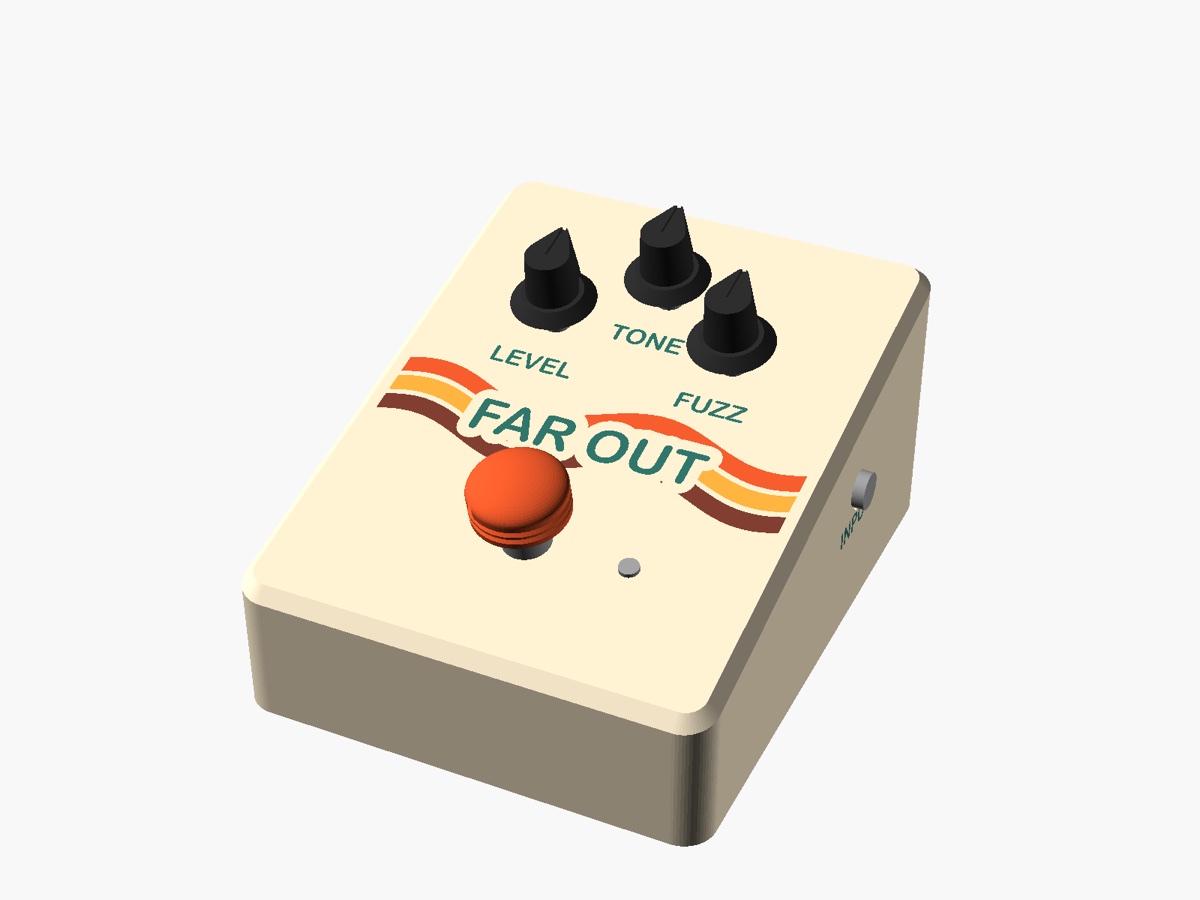
layout = "assembled", shell_w = 120, shell_d = 150, back_h = 72Real parts, measured
The holes come from the parts library: 3/8" jack threads, 7 mm pot bushings, the 12 mm 3PDT footswitch, the pedal DC jack and a 4 × AA holder. Values a maker might vary are listed under “Measure before printing”, with what to check.
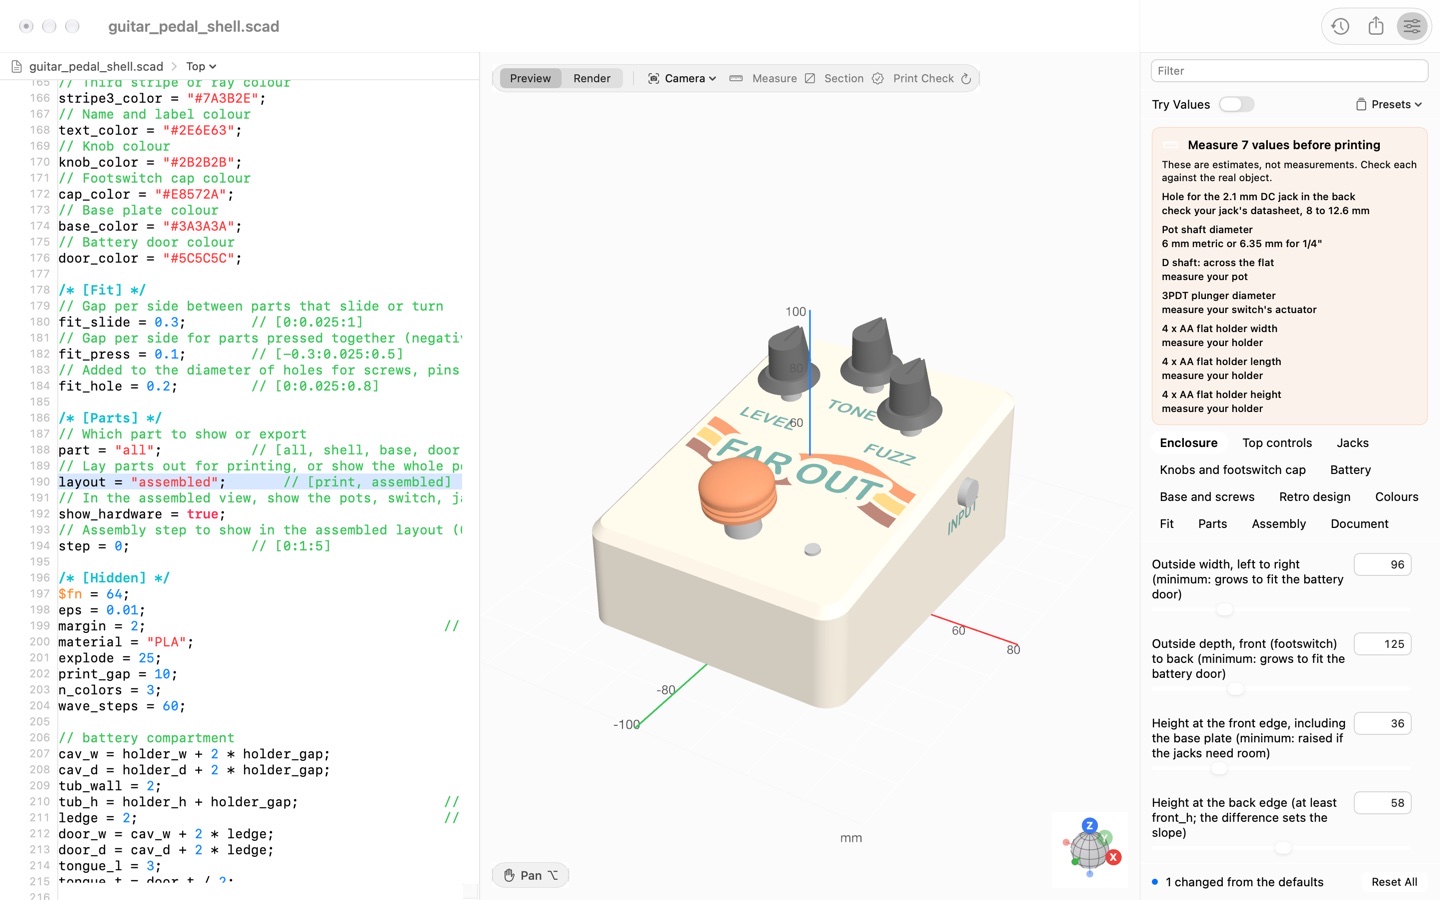
Assembly, step by step
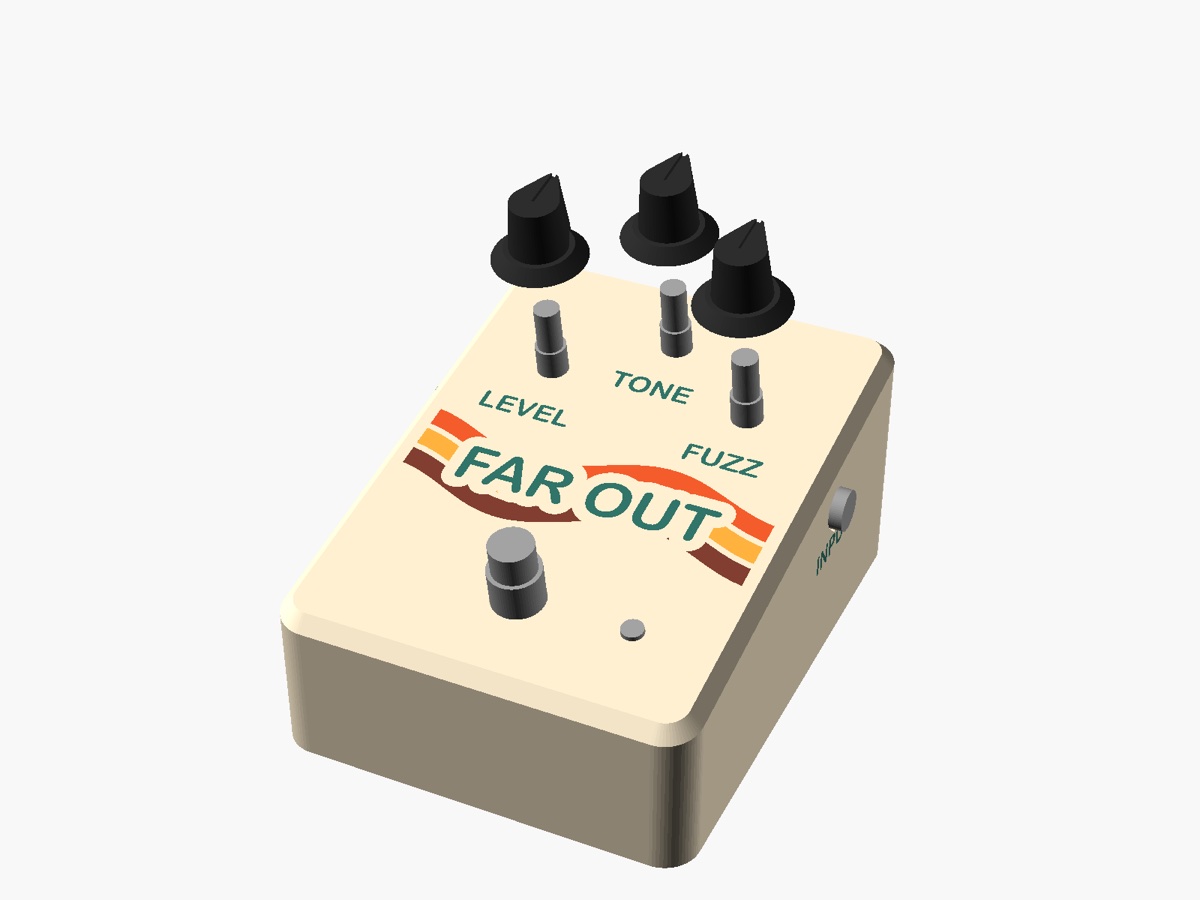
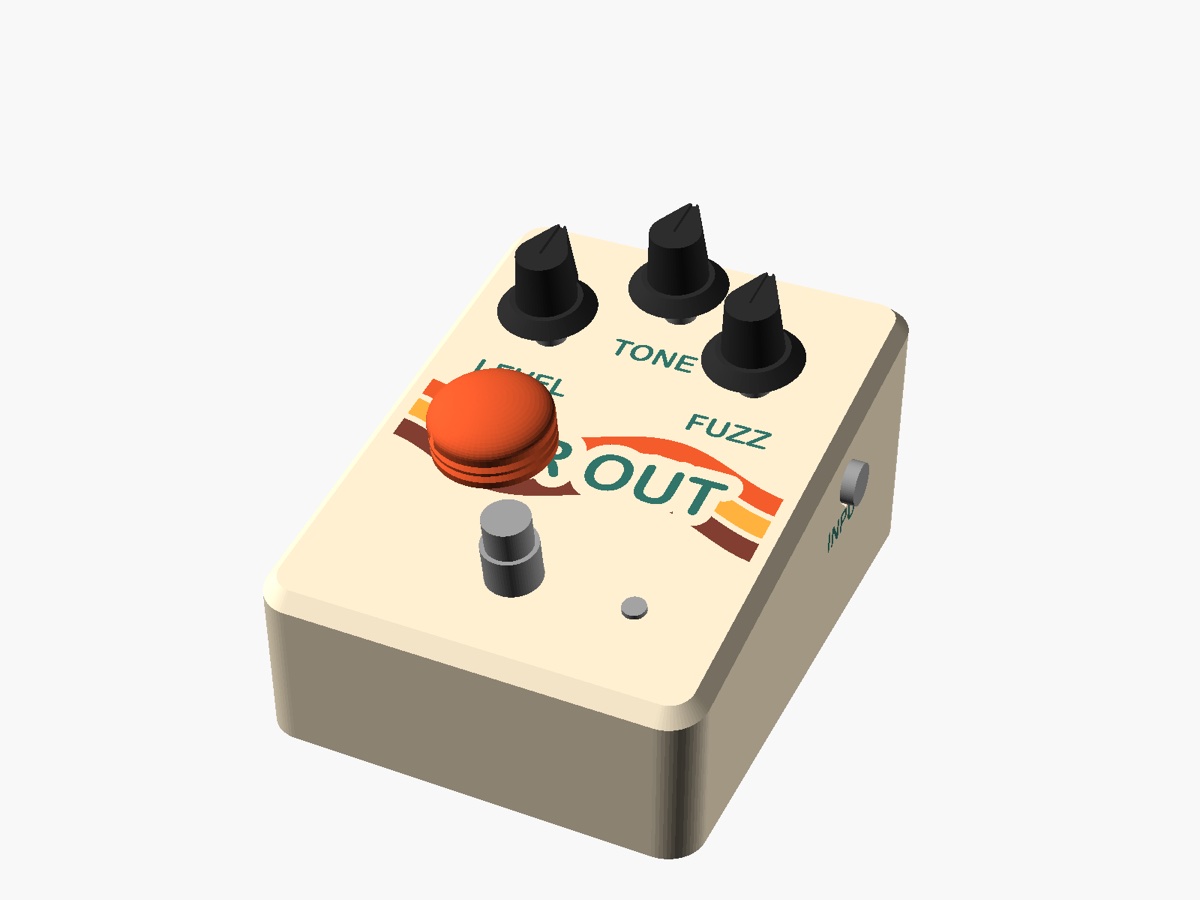
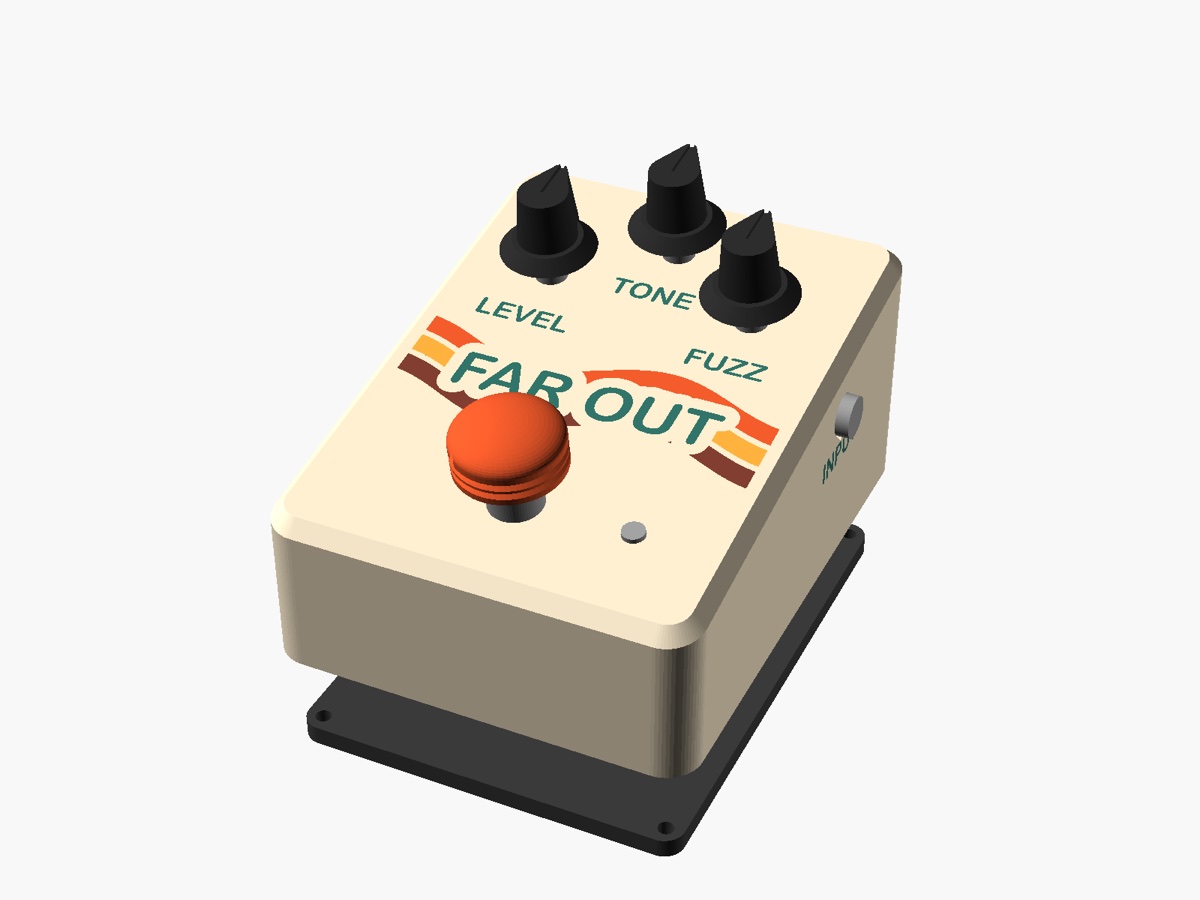
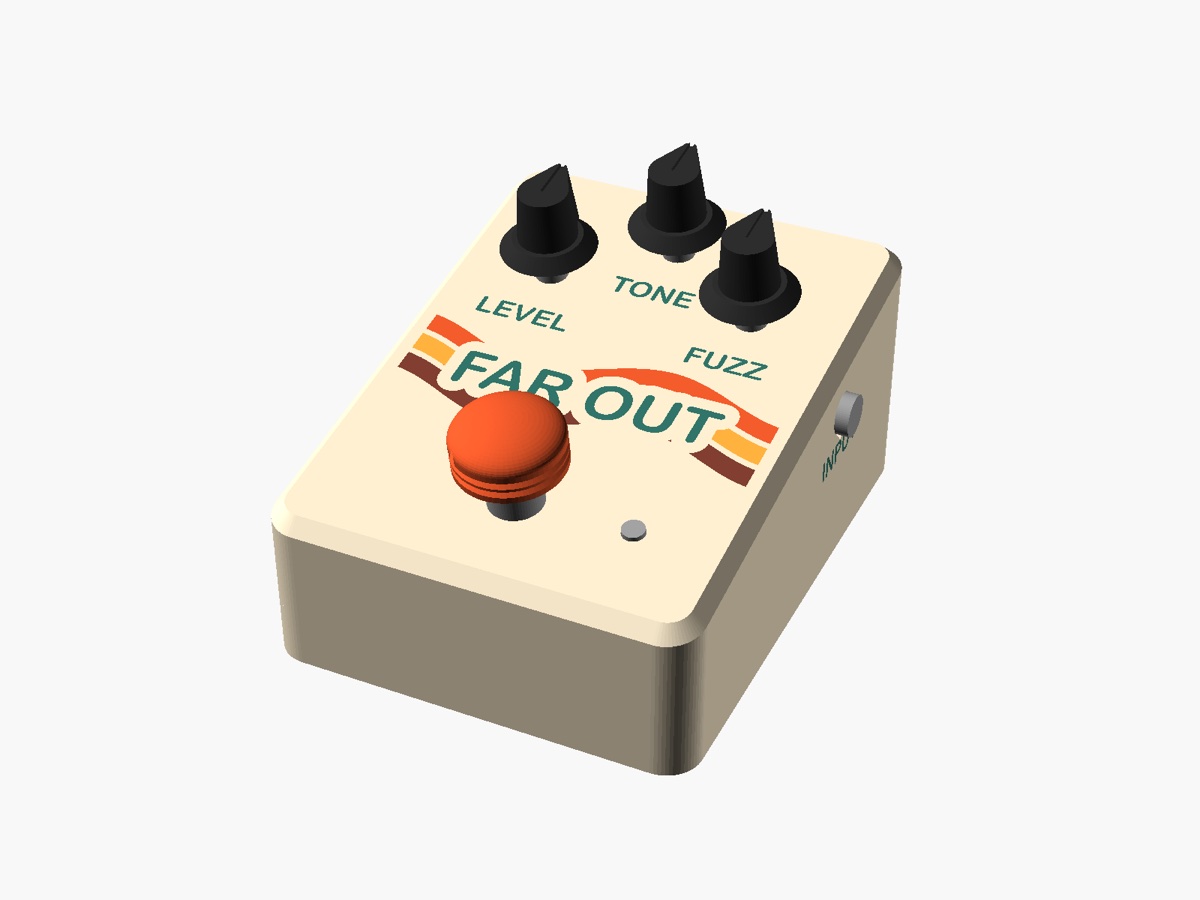
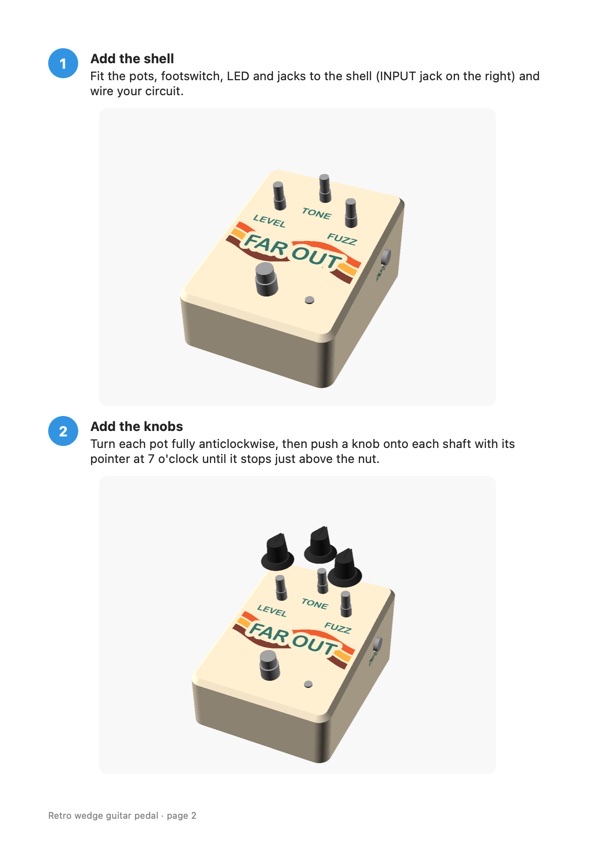
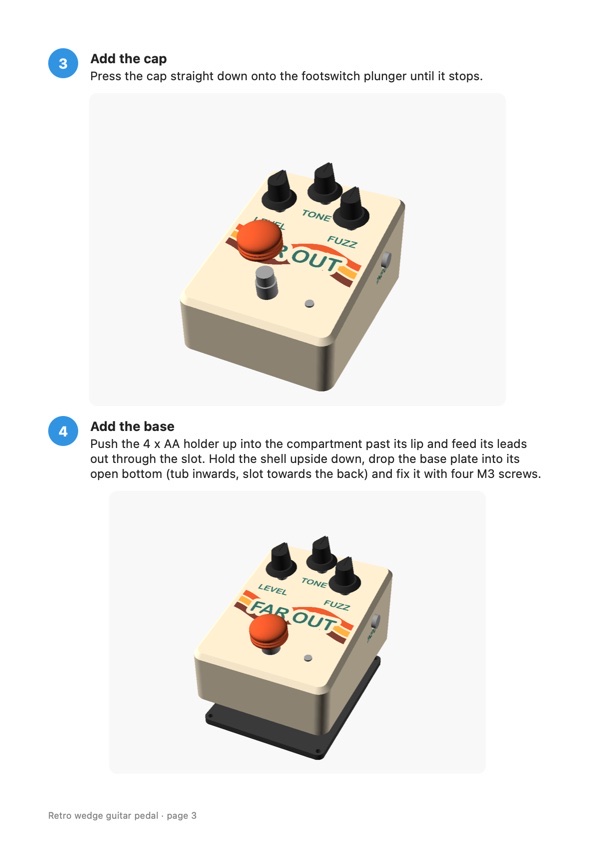
The Assembly step slider builds it up in order: pots and jacks into the shell, knobs, the footswitch cap, then the base.
Every step
Instructions, written for you
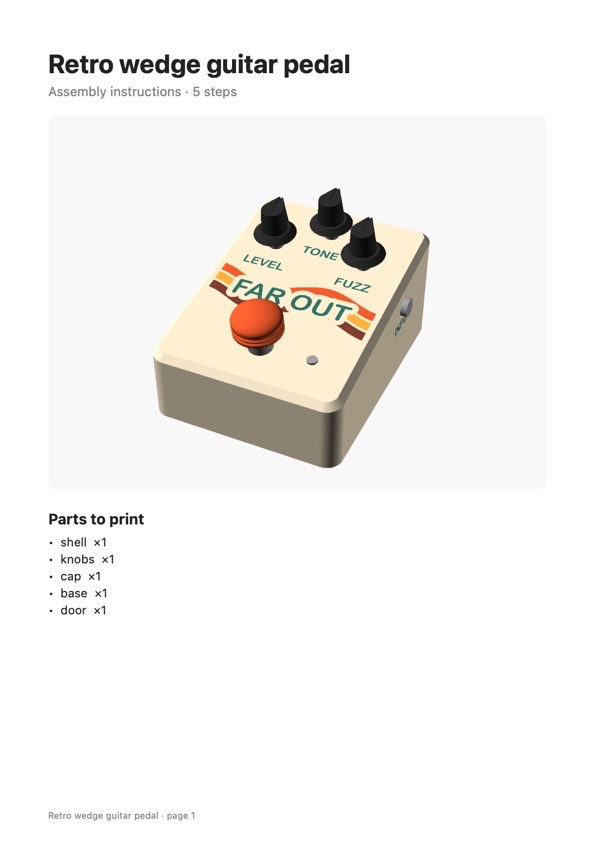
ScadBox turns the steps into a printable PDF with a parts list, a picture of each step and what to do.
Laid out to print
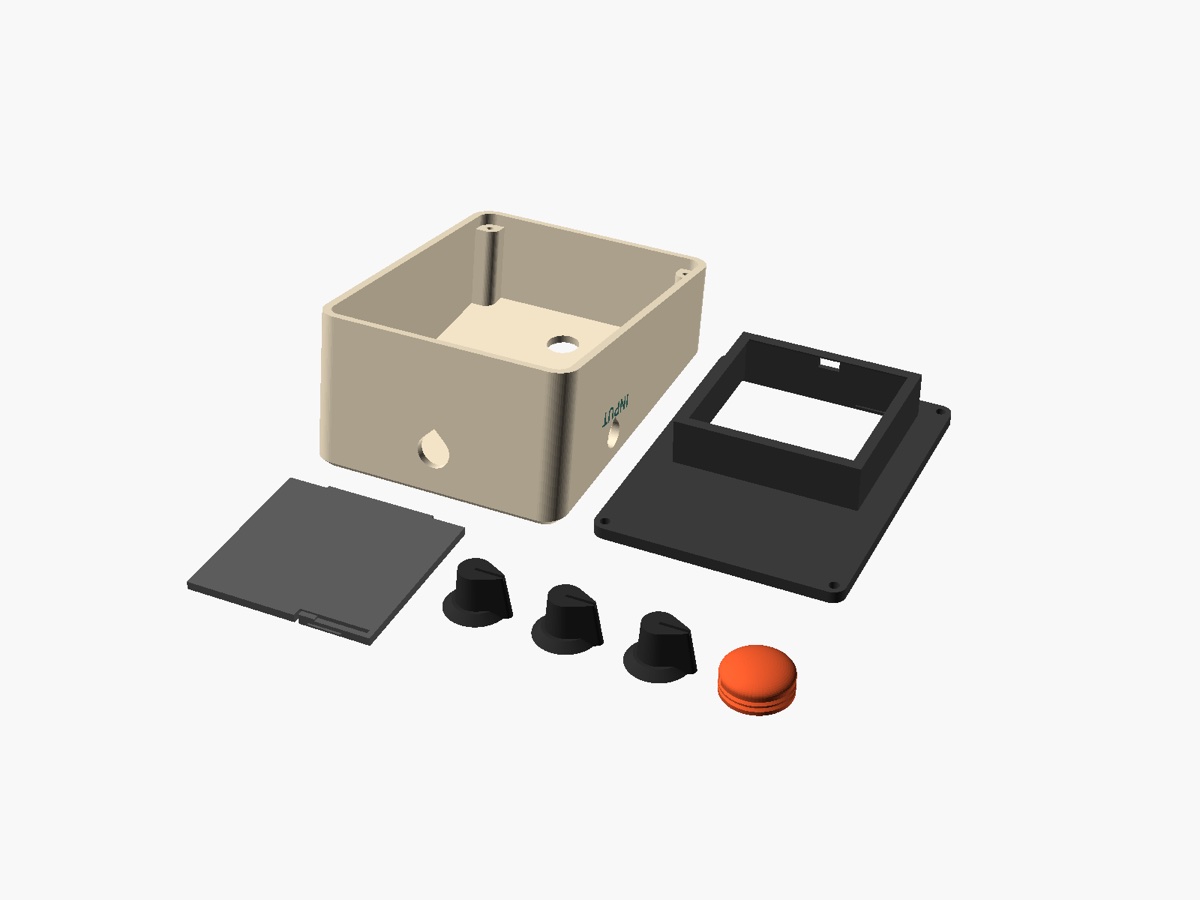
Shell top-face down, base and door flat, knobs and cap upright: no supports.
layout = "print"More case studies
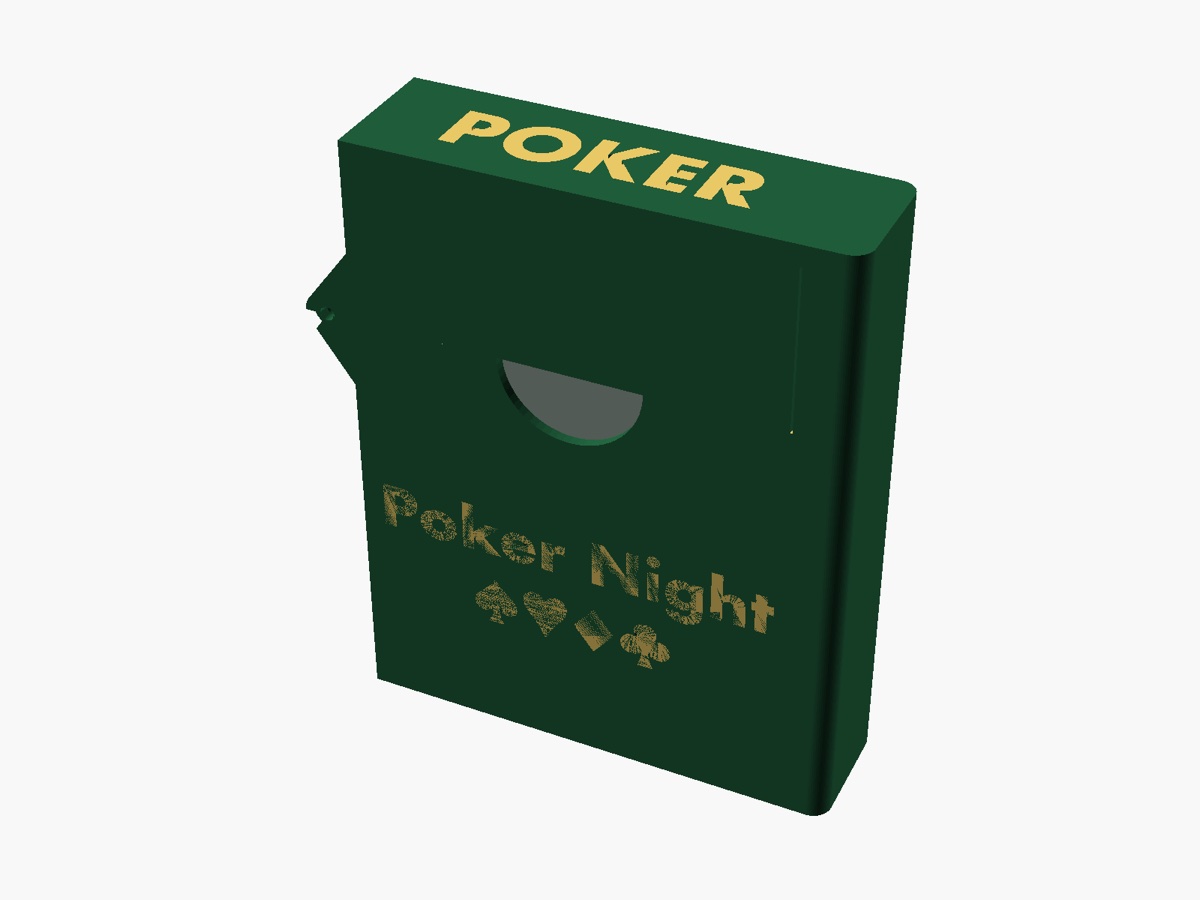
Self-closing deck box
A hinged lid that falls shut under its own weight and snaps closed on magnets, with inlaid lettering and a hinge stop.
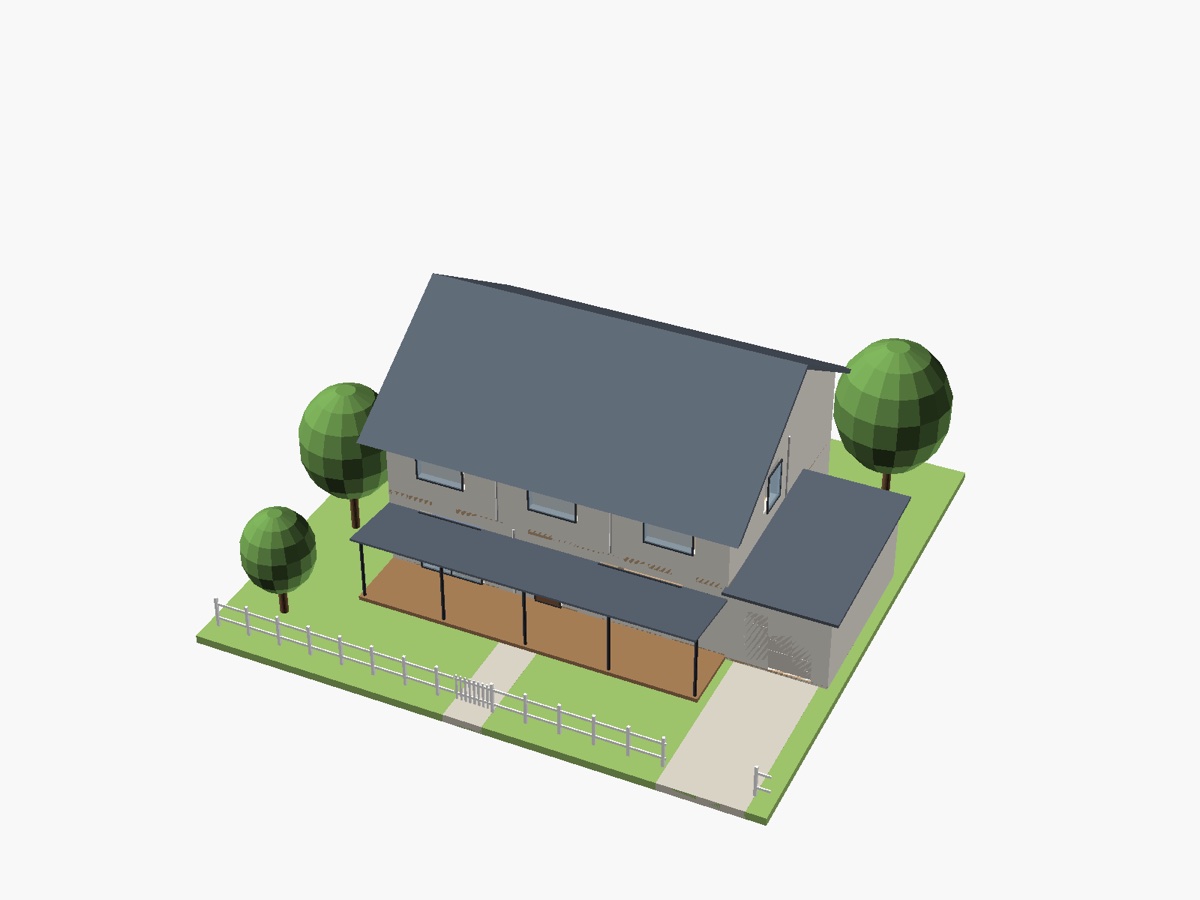
Two-storey house
Walls, rooms and furniture from data tables, with cut-away, exploded and floor-plan views, a printable kit, and a gate and garage door that open.
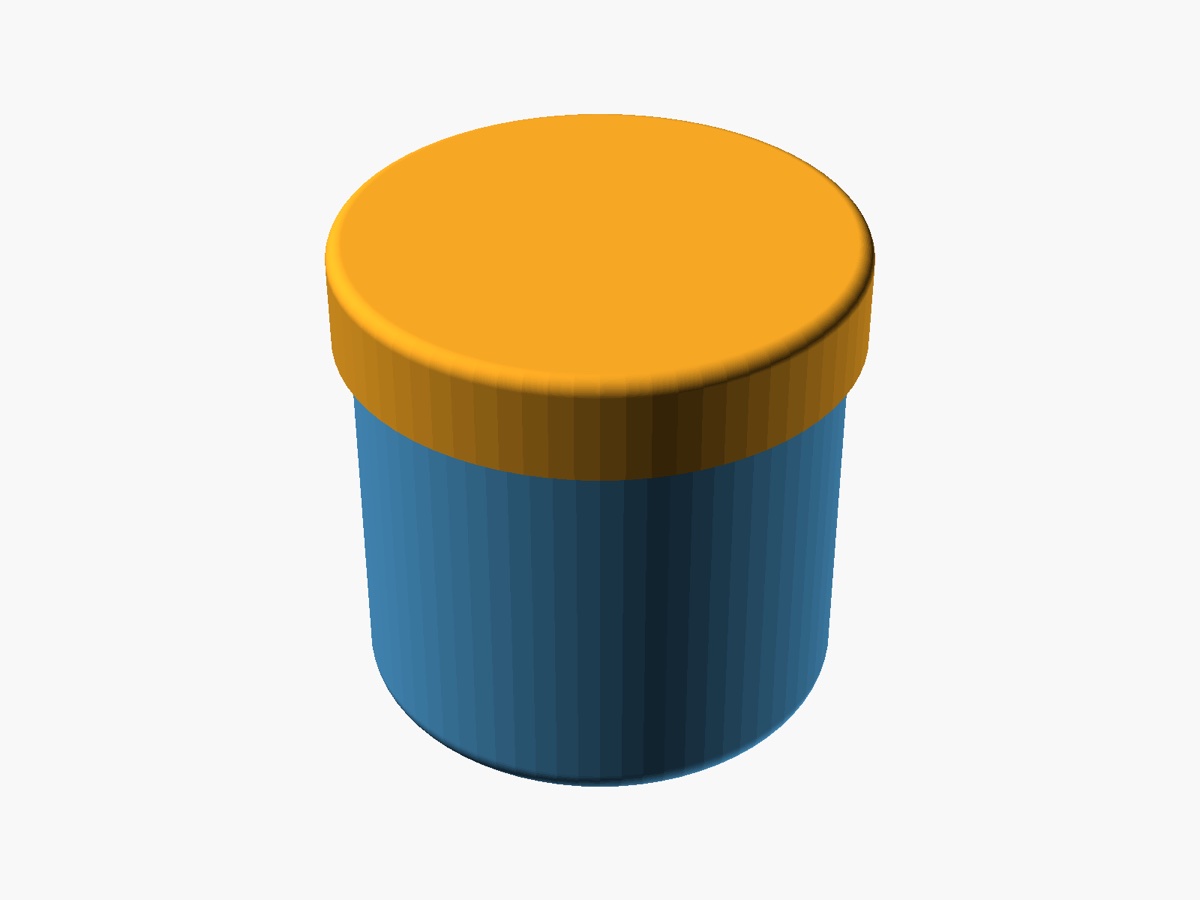
Screw-top jar
A rounded jar and lid with a printable thread from BOSL2, sized by sliders and fitted to your printer.