How to measure an object from a photo for a 3D model
Updated 19 November 2026
Photograph the object with something of known size beside it, on the same plane, and scale every measurement from that reference: two points a known distance apart, a run of evenly spaced features (count × spacing), or the four corners of a rectangle such as a bank card (85.6 × 54 mm), which also corrects for the photo being taken at an angle. Check the scale against a second known dimension, and measure the real object before printing anything that has to fit.
Why a photo alone isn't enough
A photo has no scale. Without a reference you can get proportions from it, but not millimetres, and even proportions drift: things closer to the camera look bigger, and a surface photographed at an angle looks shorter in one direction than the other. A reference of known size fixes the scale, and the right kind of reference fixes the angle too.
Take a photo you can measure
- Shoot straight on, with the camera square to the face you want to measure.
- Step back and zoom in rather than holding the phone close. Perspective is much weaker from further away.
- Put the reference on the same plane as what you're measuring: a card lying on the desk next to the router, not propped up in front of it.
- Use good, even light so edges are crisp, and take one photo per face you need.
Three kinds of reference
Two points a known distance apart
A ruler, a tape measure, or a dimension line on a drawing. Mark both ends and give the distance. Use the longest distance you can: an error of a few pixels matters far less over 200 mm than over 20 mm.
Evenly spaced features
Tiles, bricks, LEGO studs, pegboard holes, keyboard keys or ruler marks. Mark the first and last, and give the number of intervals between them and their spacing: 12 intervals of 25 mm pegboard is 300 mm. Counting many intervals averages out small errors in where each one is.
A rectangle of known size
A bank card is 85.6 × 54 mm, an A4 sheet 210 × 297 mm. Mark its four corners in order and give its size. Because four corners describe how the rectangle's plane is tilted, this also corrects for the photo being taken at an angle, for any point on that plane. It's the best choice for a photo of a flat surface you can't shoot perfectly square, like a tabletop or a wall.
Measuring with an AI agent
ScadBox's measure_image tool lets an agent such as Claude Code read measurements off a photo, floor plan or drawing instead of judging by eye. It draws a labelled grid over the image, in pixels at first and in millimetres once there's a scale, can zoom into part of the image to place points precisely, and converts any points it marks to millimetres with the distances between them.
The workflow it follows:
- Look at the whole image and find something of known size. If there isn't one, ask you for a size rather than guessing.
- Zoom in on the reference and mark it precisely, then pass it as the scale.
- Check the scale against a second dimension you know.
- Measure everything else.
The scale is given in one of three forms, matching the three kinds of reference above. A card photographed on a desk, for example:
{"corners": [[412, 980], [1188, 1012], [1170, 1497], [398, 1460]],
 "size": [85.6, 54]}
The first two corners run along the card's width. Two points use {"from": [x, y], "to": [x, y], "mm": 150}, and evenly spaced features {"from": first, "to": last, "count": 12, "spacing": 25}. Millimetres come back measured from the reference, with y pointing up, which is OpenSCAD's orientation, so they go straight into the model.
A prompt that works well:
~/Desktop/router.jpg is my router lying on the desk with a bank card next to it.
Measure the router's width and depth, and design a stand that holds it on edge.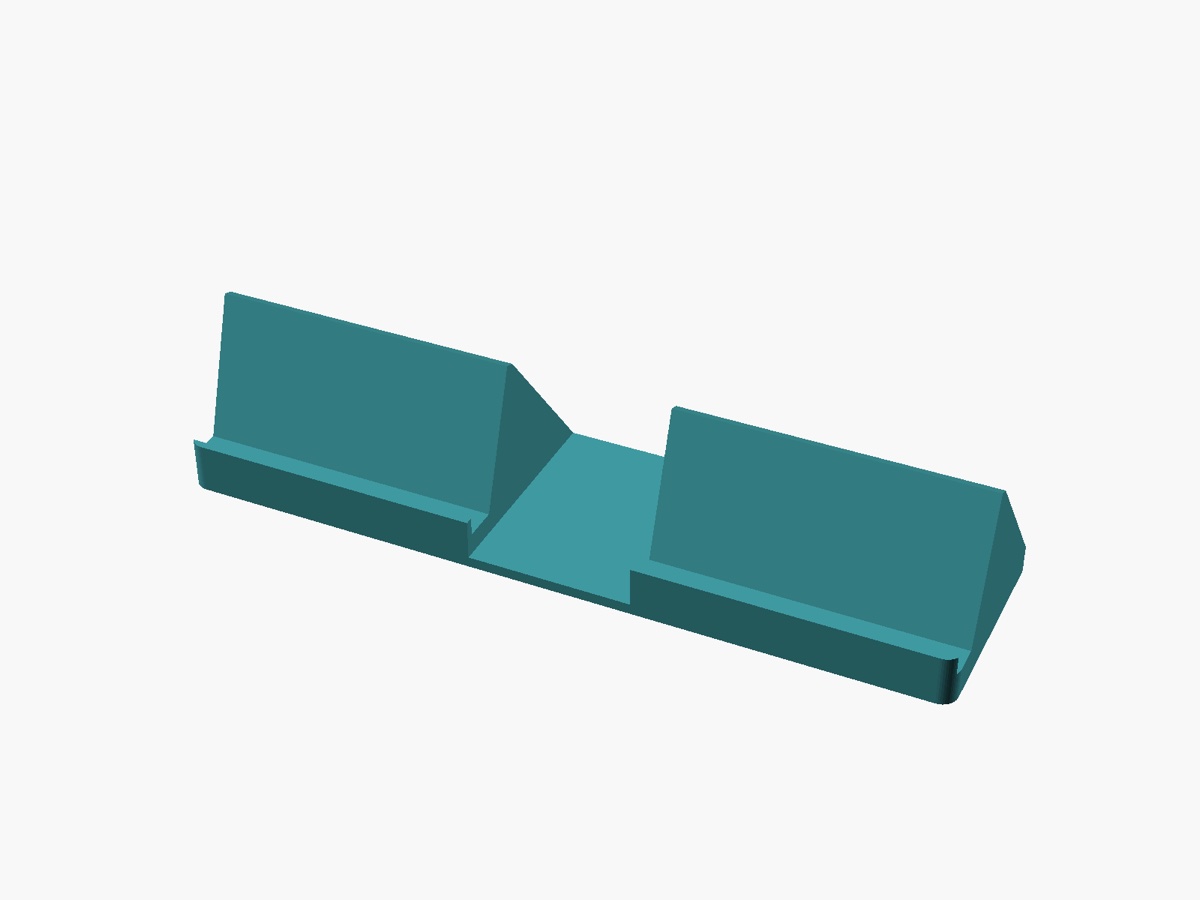
Mark what you couldn't measure
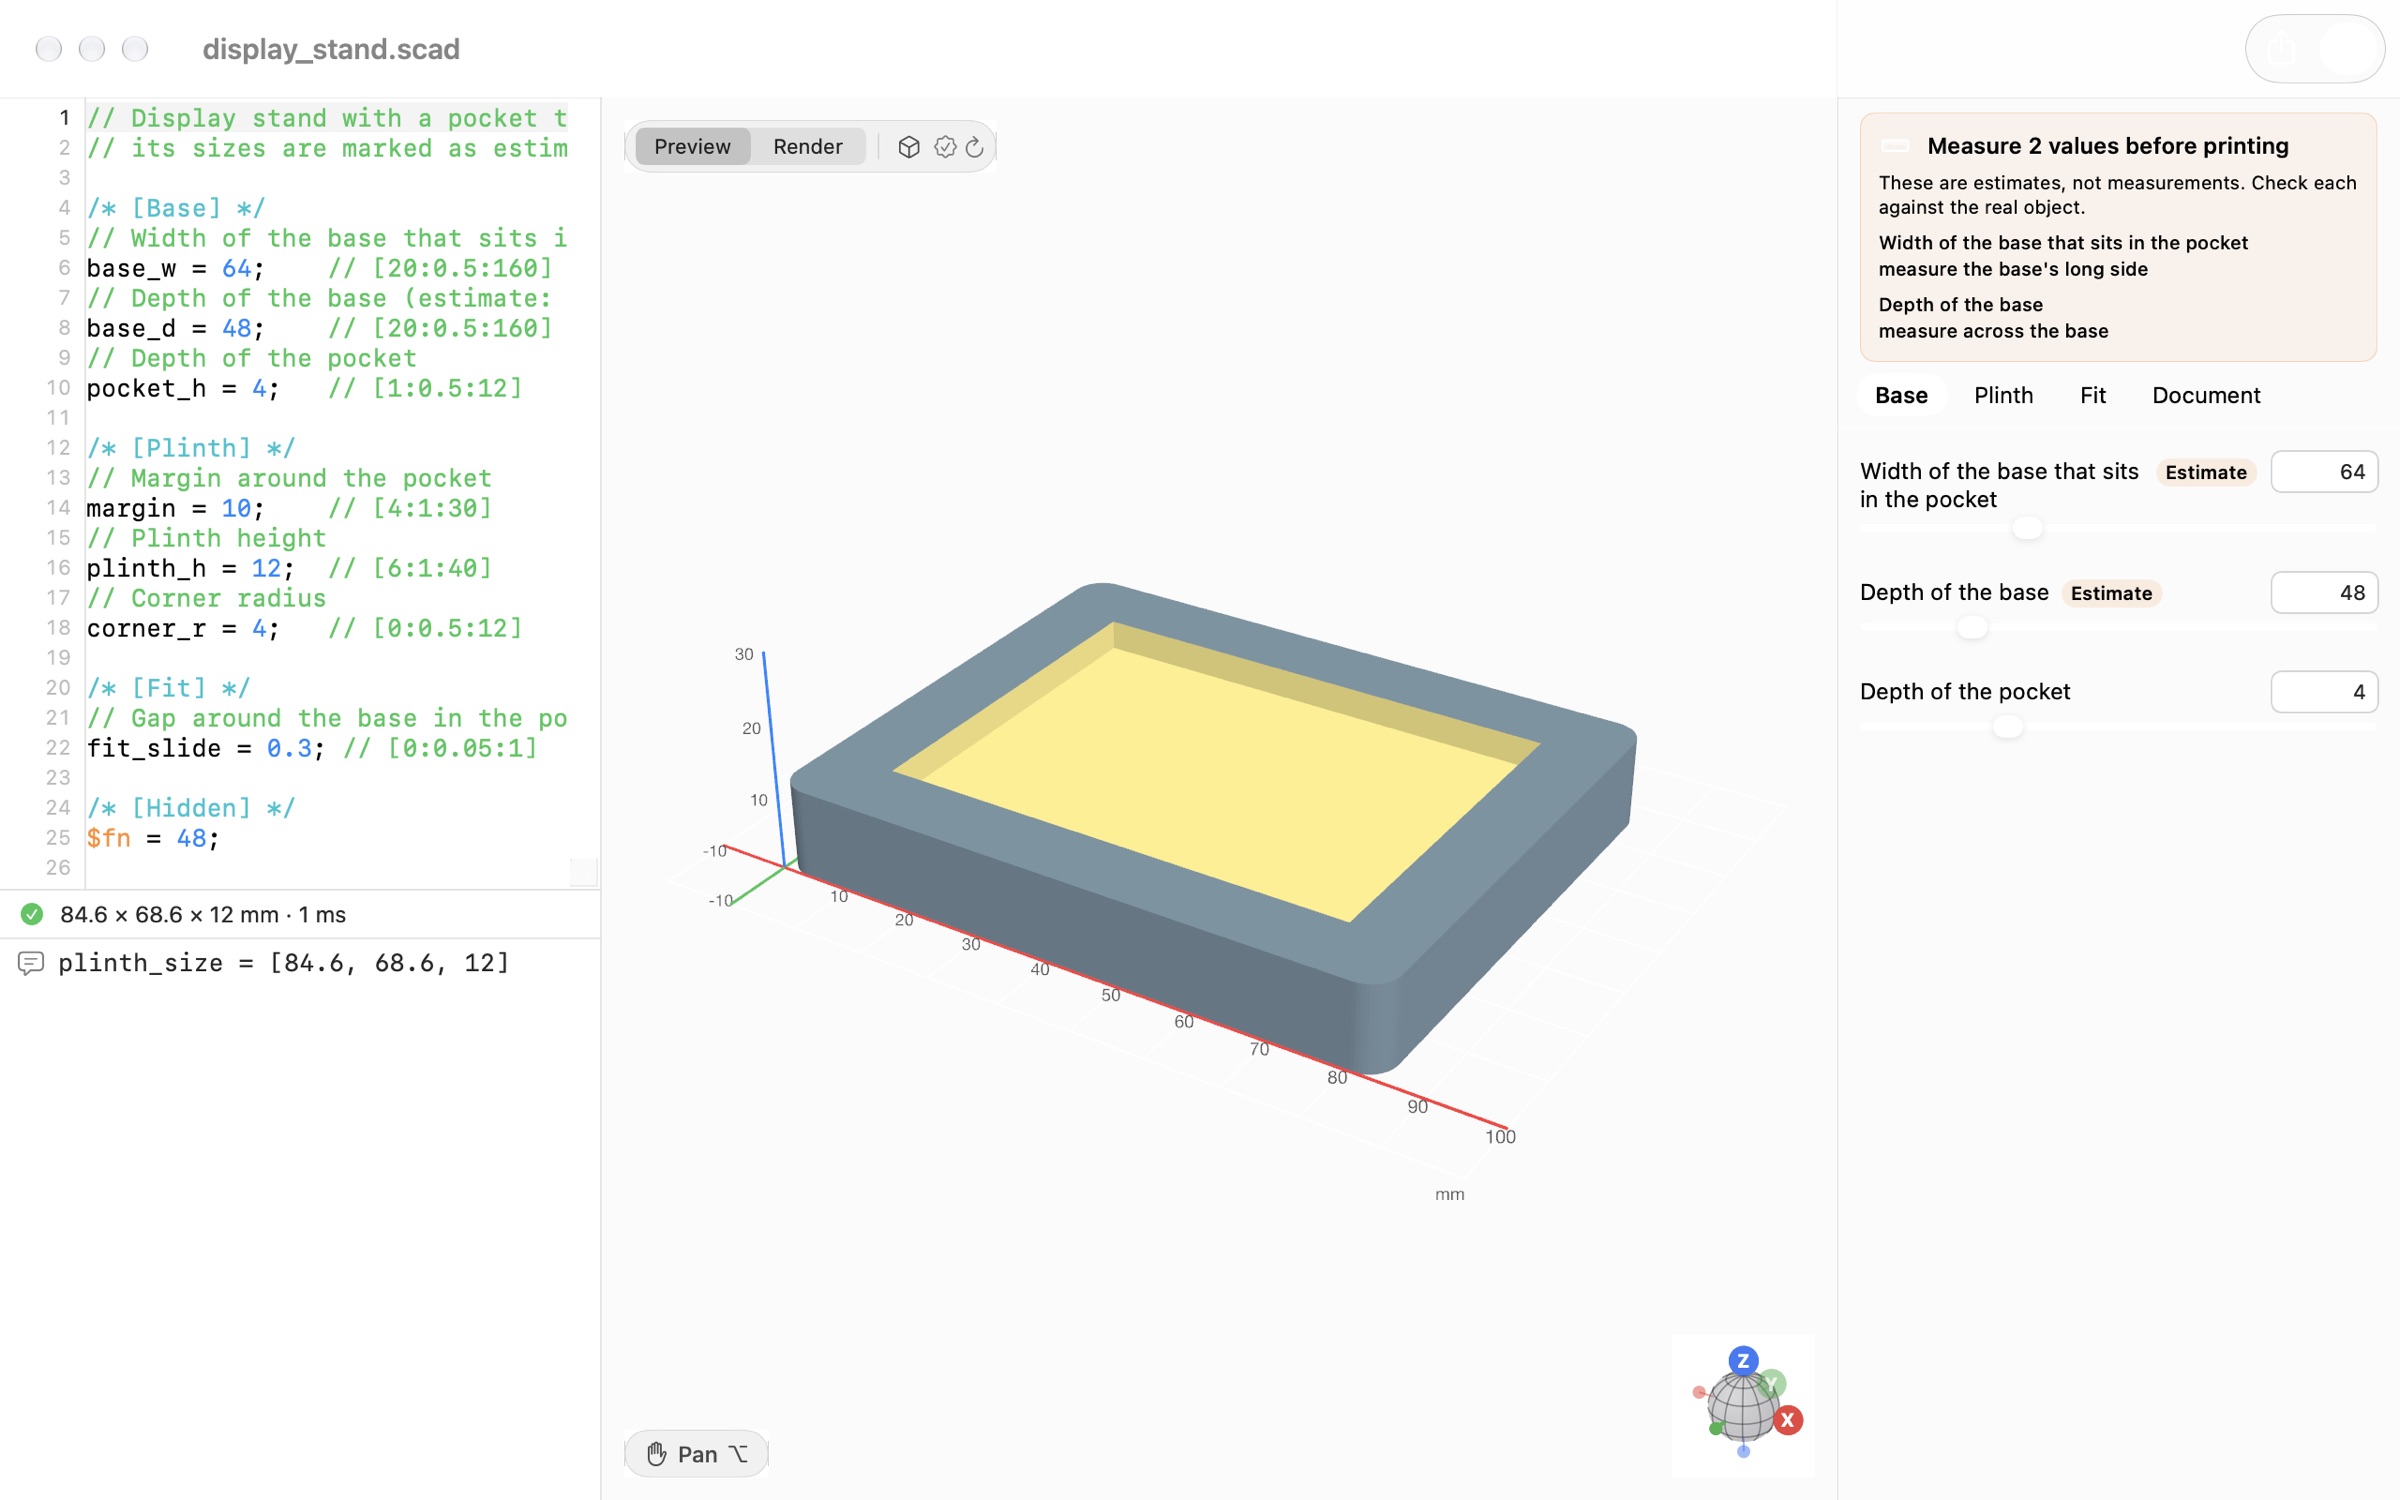
A photo gets you close, not exact. Some dimensions won't be visible at all, like the depth of a phone behind its screen. Mark every value that came from a photo or a guess as an estimate in the design, so it isn't forgotten:
// Depth of the router (estimate: measure front to back at the base)
router_d = 36;      // [10:0.5:80]
ScadBox's customizer shows these with an Estimate badge and lists them in a "measure before printing" banner. See customizer parameters.
Before you print
For anything that must fit, check the critical dimension with a ruler or calipers, then print a thin test piece of just that part: the pocket, the hole or the clip. It takes minutes and filament for one test, not a whole failed print. The fit itself, how much gap to leave, is covered in 3D print tolerances.
Questions
- Can I measure an object from a photo without a reference?
- Only its proportions. A photo has no scale of its own, so you need something of known size in it, such as a ruler, a bank card or evenly spaced tiles, on the same plane as the object.
- What can I use as a size reference in a photo?
- A ruler or tape measure, a bank card (85.6 × 54 mm), a sheet of A4 paper (210 × 297 mm), or evenly spaced features of known pitch such as tiles, bricks or pegboard holes.
- How do I correct for a photo taken at an angle?
- Use a rectangle of known size lying on the surface you're measuring and mark its four corners. That describes how the plane is tilted, so measurements on that plane are corrected. ScadBox's measure_image tool does this.
- How accurate are measurements from a photo?
- Good enough to start a design, not to guarantee a fit. Use a long reference, check it against a second known dimension, mark photo measurements as estimates, and measure the real object before printing parts that must fit.